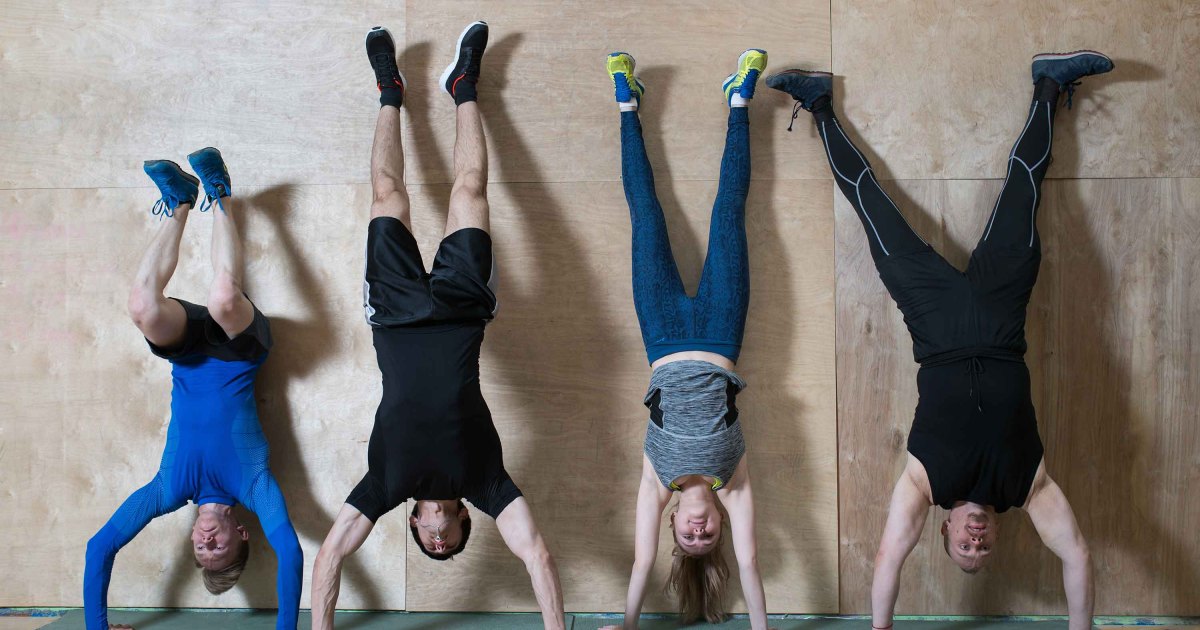
Most people think they can’t do a handstand. And that may be the biggest obstacle in successfully performing a handstand.
The fear of being upside down, the transition to get there, and straight-up face planting is what stops many in their tracks when it comes to attempting this seemingly underrated and less-utilized full body move.
However, mastering the handstand isn’t as complicated (or as scary) as it may seem. With the right instructions, and instructor, you’ll soon see that the handstand is simply about mixing good technique with a little courage—and of course, lots of practice.
Not to mention, the full-body benefits are plentiful. “Performing a handstand will utilize most of the muscle groups in your body—from your hands to your feet,” explains Heather Henson, CF-L2 trainer, and CrossFit coach whose helped adults and kids’ mater CrossFit staples for a decade. “And it starts with using the muscles in your fingers, hands, and arms, pushing through active, strong shoulders and lats, tightening your core, glutes, and legs, and ends with pointing your toes.”
Beyond the strength aspect, “performing handstands will bring you greater body awareness and control, which will help with balance and coordination. Being upside down can help improve blood circulation and improve digestion,” says Hensen. She also mentions the confidence boost you’ll get as you become more comfortable at being upside down is unmatched.
It’s time to toss fear to the side and get ready to master the move you used to do as a kid—or always wanted to do!
Handstand Instructions for Beginners:
- Start in a standing position.
- Step forward into a lunge position with your arms straight overhead.
- Place hands onto the ground, shoulder width apart. Simultaneously kick the back leg into the air and push off the front leg, lifting it into the air to meet the back leg.
- Control momentum to stop in a stretched, inverted handstand position.
- Point toes, legs straight and tight, tucked pelvis, tight core, active shoulders, and head held in a neutral position.
- When coming down, lower front leg, then back leg down to the ground while bringing your upper body and arms back into an upright standing position.
Expert Tips To Master the Handstand
- Be consistent with your practice. (Example, practice for 10-15 minutes, three times a week).
- Be patient. Take the time to build strength and mobility in your upper body and to build awareness and control of your body. (Do progressions)
- Use a spotter when you are beginning. If you do not have a spotter, you can use a wall to help.
- Take the time to learn how to turn out of a handstand so you can safely come out of it. (Instructions for this below; falling safely).
- Do not forget that your fingers and hands are your foundation when doing a handstand. Your fingers play a big role in maintaining your balance.
- Do not relax your shoulders and core. Having active shoulders and holding your body tight will help immensely when in a handstand.
Before You Go Upside Down, Know How to Safely Fall Out of a Handstand
Once you’ve made up your mind about conquering the handstand, it can be tempting to want to jump right into it. However, before you go hands down, Hensen shares the importance of utilizing a spotter (or a wall), while knowing how to properly fall out of a handstand.
Once upside down, panic or the feeling of being imbalanced could set in, causing you to fall. This is normal, and practice will make these feelings lessen as you become more confident.
Properly falling out of a handstand helps you land safely (and even gracefully), out of the move. This technique is more similar to a roll or a cartwheel then a ‘fall’ so-to-speak, and takes skill and practice.
Here are two “falling” methods to try:
The Step-Down Method
This method is simple: fall out the way you came in. You have most likely performed this technique naturally when trying to do handstands in the past.
-
- Split your legs at the top of the handstand and bring them down one at a time in a controlled manner.
- Come back down the way you came up – same technique.
The Turn and Plant Method (Use this if you end up leaning to one side and feel you may fall).
-
- If you start leaning to one side, separate your legs.
- Pivot slightly and bring your outside leg to the floor (controlled if possible).
- Then lift your opposite hand and you will come down safely.
Hensen’s Pro Tip For:
Keep your arms straight in the turn and plant method. If your arm bends with your body weight above it you will have a fall (don’t worry, we’ve all been there).
“If someone has injuries to their hands, wrists, elbows and/or shoulder(s), they might want to receive medical clearance before they try to perform handstands,” advises Hensen. “Medical clearance is also advisable for individuals with blood pressure issues, spine, back, neck problems, brain injuries or eye issues.”
Handstands are a move many wish to accomplish. For the best (and safest) experience possible, hire a qualified fitness professional or join a reputable CrossFit Gym where you will be guided and instructed properly. Don’t be afraid to try it. This move can be added to any workout regimen to increase body control, coordination, and strengthen your muscles from head-to-toe.
